MODULE 3 · CLIENT SETUP
Create a Workspace
Each client's reconciliation lives in its own workspace. The New Workspace wizard walks you through three steps.
Part 6 - Create a workspace (client account)
6.1 - Start
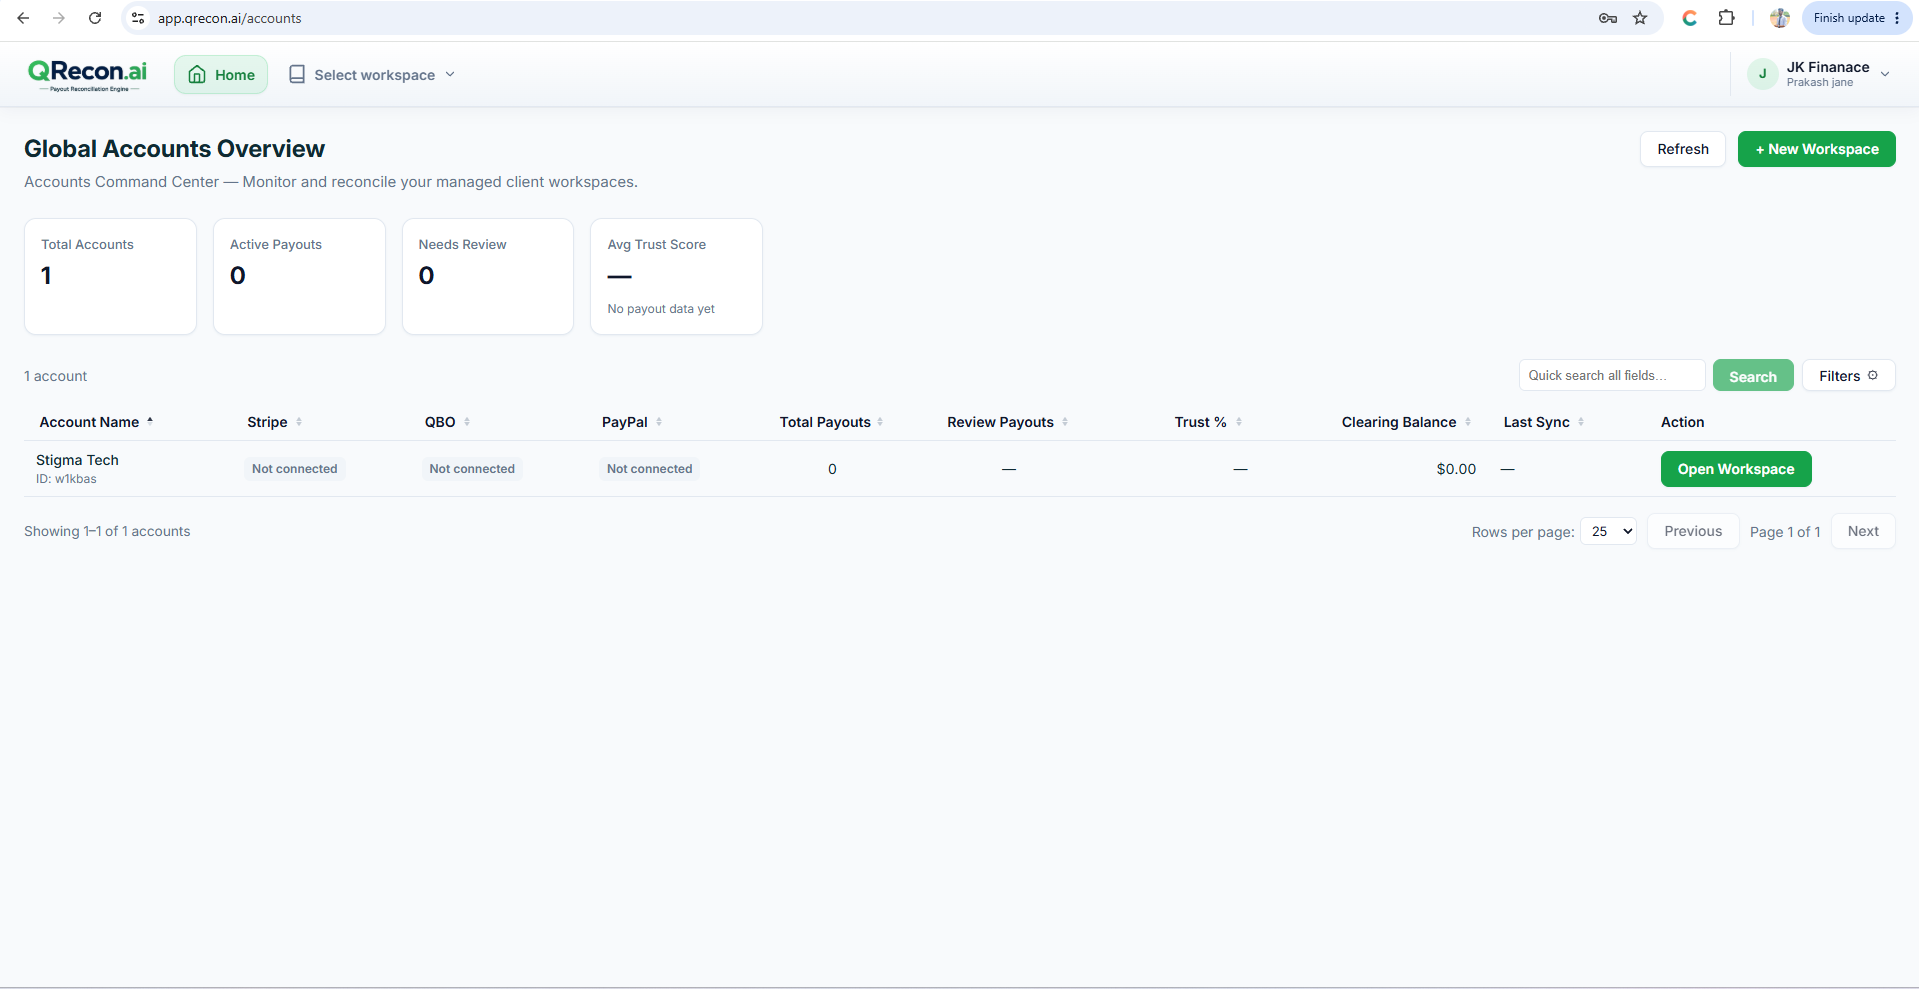
- On Global Accounts Overview, click + New Workspace.
- The New Workspace wizard opens (3 steps).
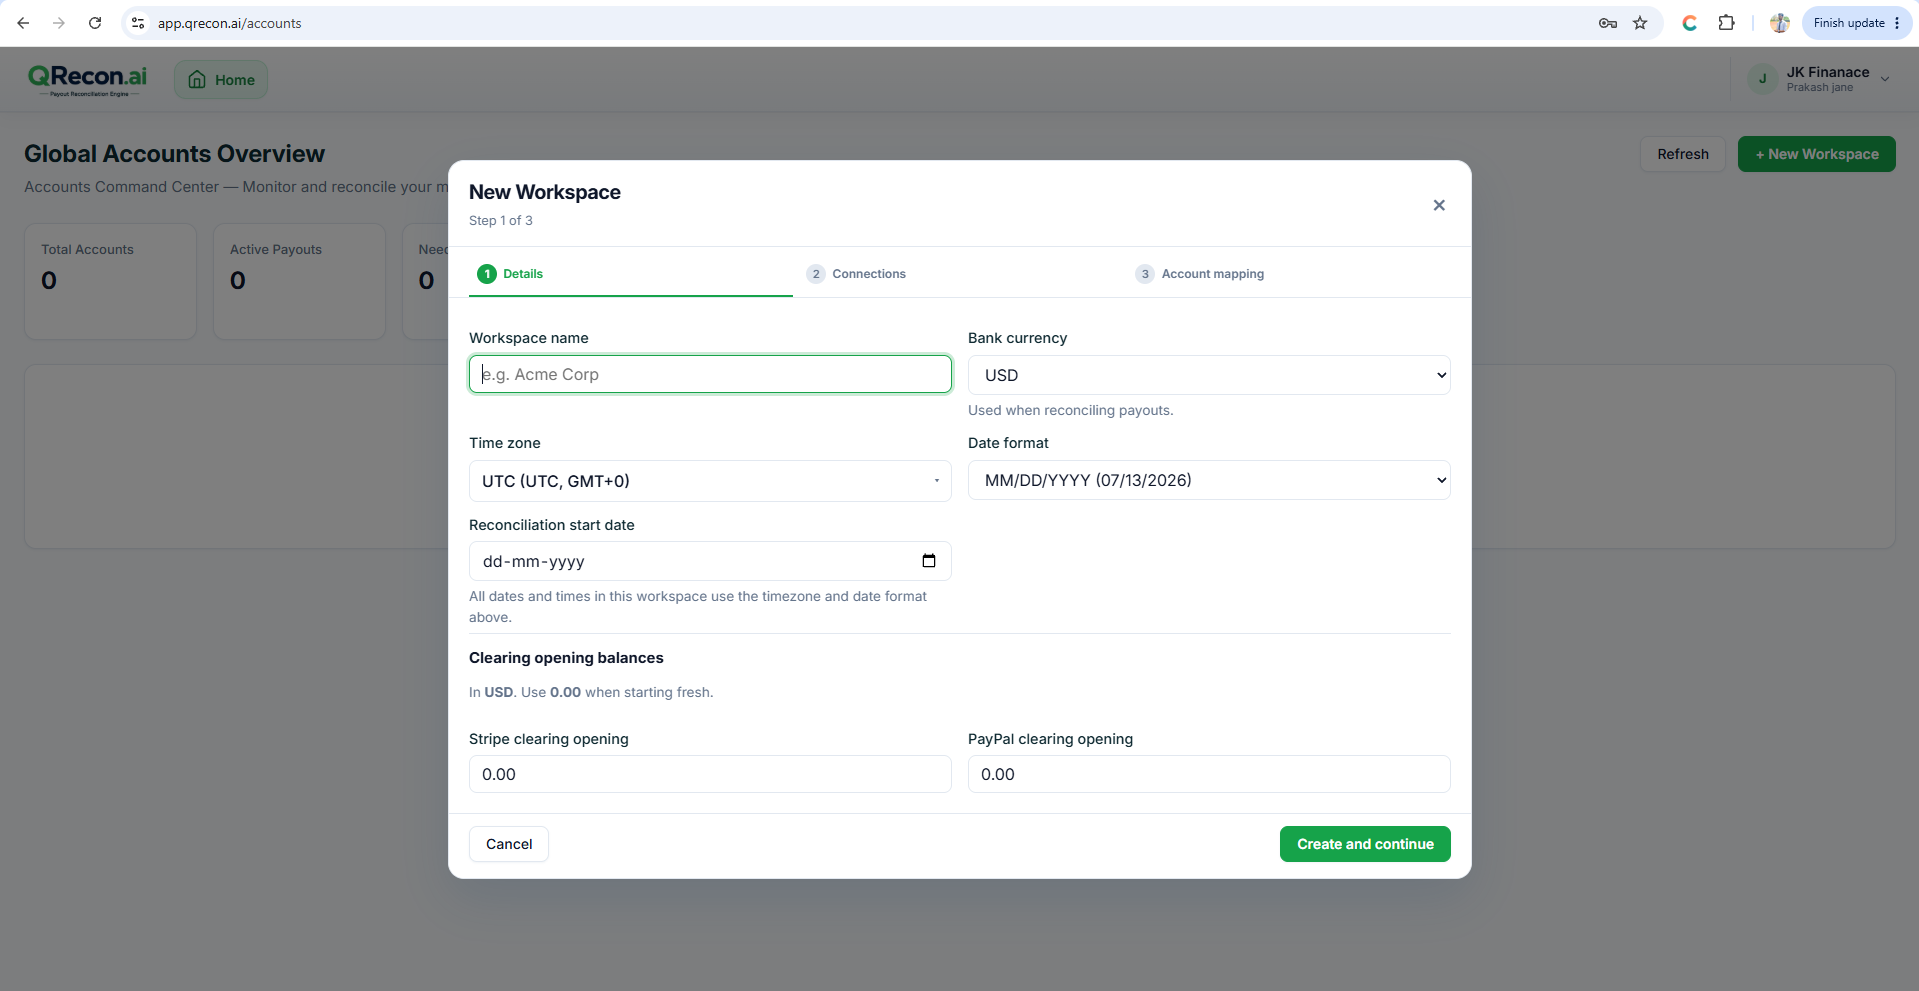
6.2 - Step 1: Details
| Field | Purpose |
|---|---|
| Workspace Name | Enter the client or company name. |
| Currency | Select the primary currency used for the client's books and bank account. |
| Time Zone | Select the appropriate time zone for accurate transaction dates and times. |
| Date Format | Choose the preferred date display format. |
| Reconciliation start date | Required. Sync only pulls data from this date forward - wrong dates are the #1 cause of empty syncs. |
| Clearing opening balances | Optional opening balances if you start mid-stream with existing clearing balances. |
💡
Set Reconciliation start date carefully. Changing it later does not always re-pull older history the way you expect - plan the start date before first sync.
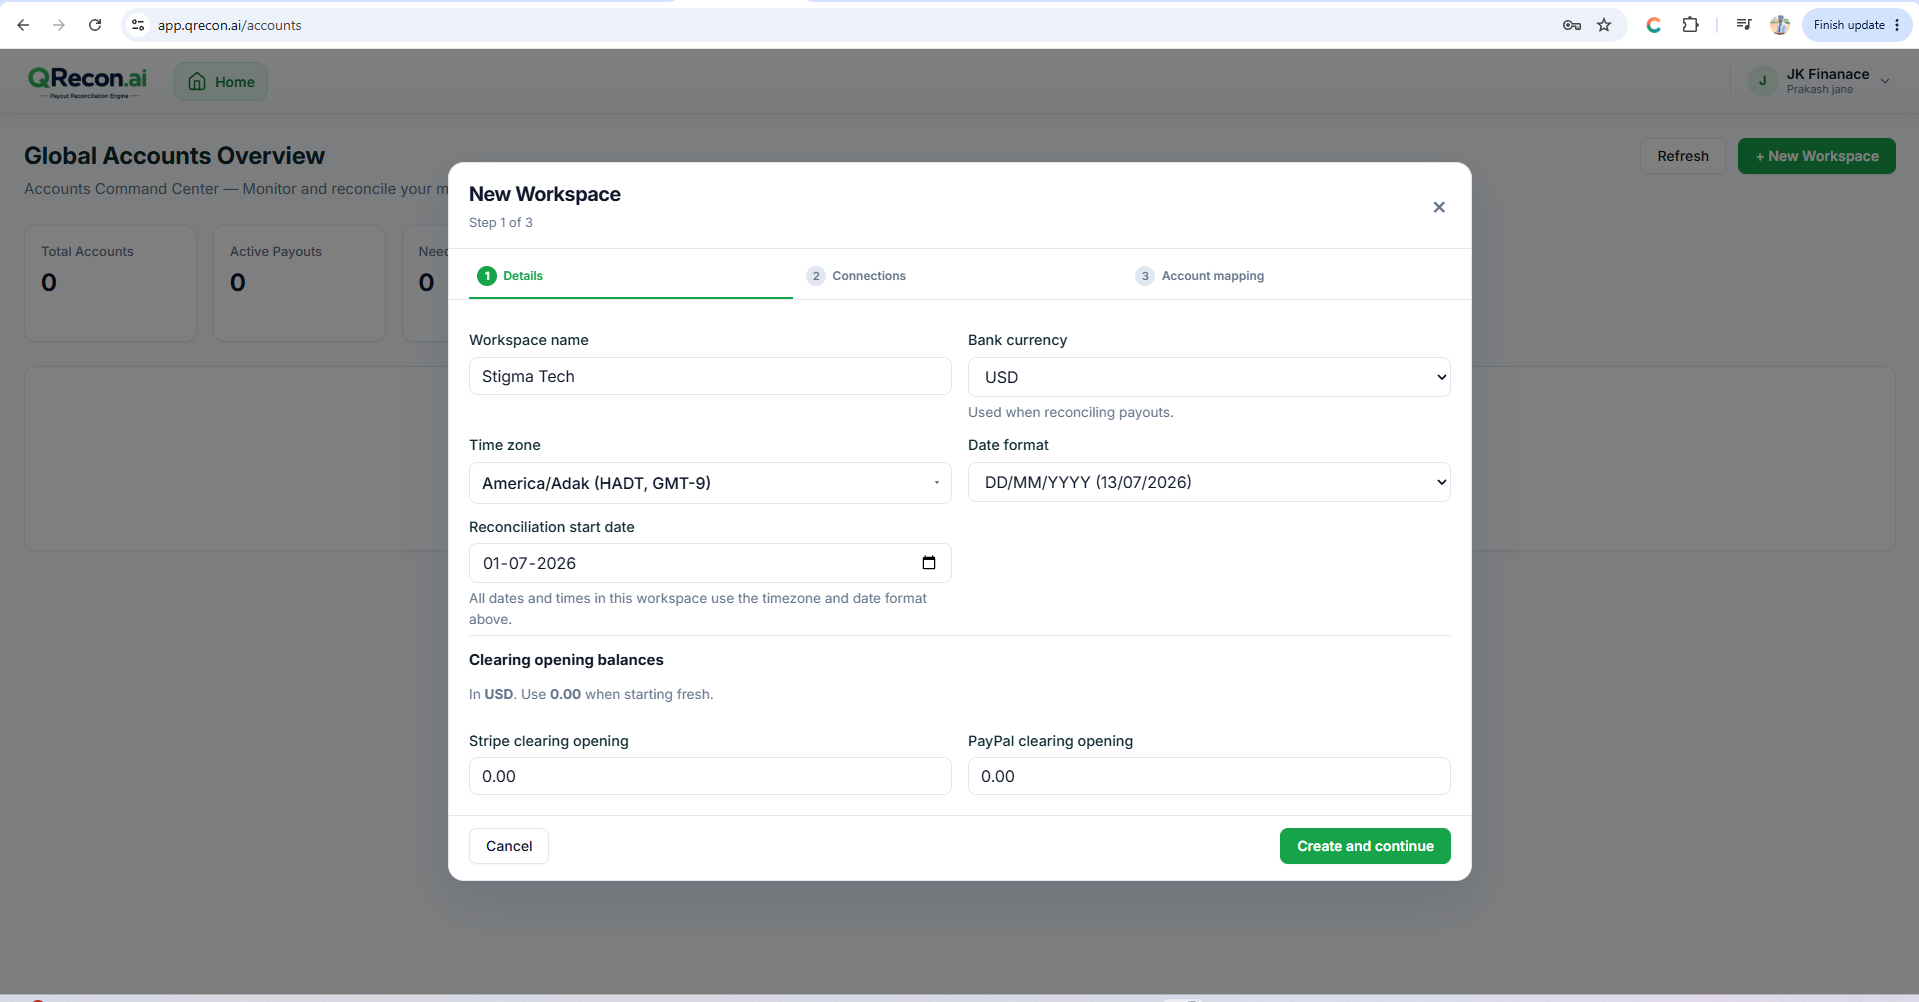
6.3 - Step 2: Connections (optional)
Connect now, or later under Settings:
- Connect QuickBooks
- Connect Stripe
- Connect PayPal
Click Next to continue even if you skip connections.
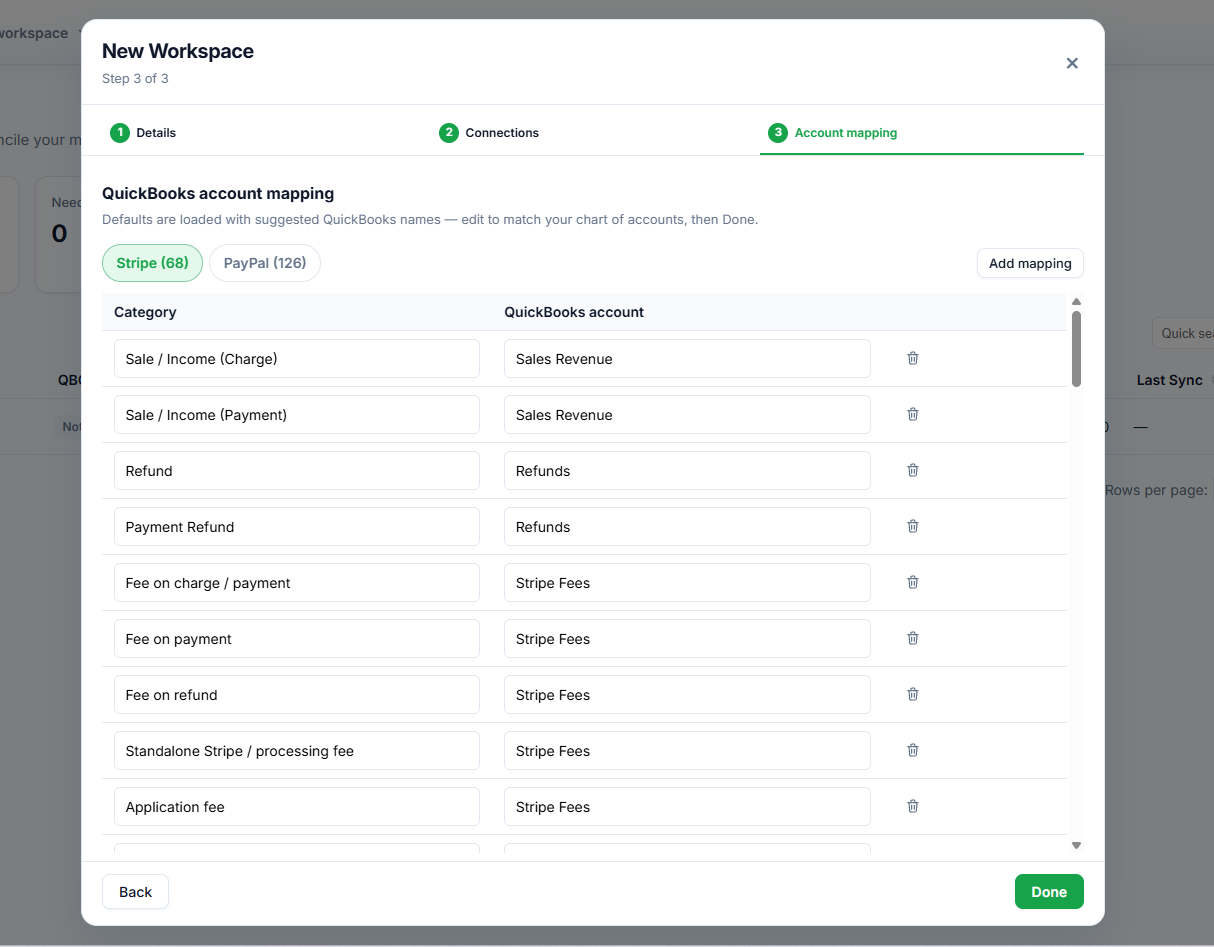
6.4 - Step 3: Account mapping
Map QRecon line types to QuickBooks account names - or click Skip for now. Mapping is required before a clean export. Click Done.
6.5 - Open the workspace
From Global Accounts Overview, open the workspace (Open Workspace / View Dashboard).